How to Choose the Right Walker Height (and Adjust It Correctly)
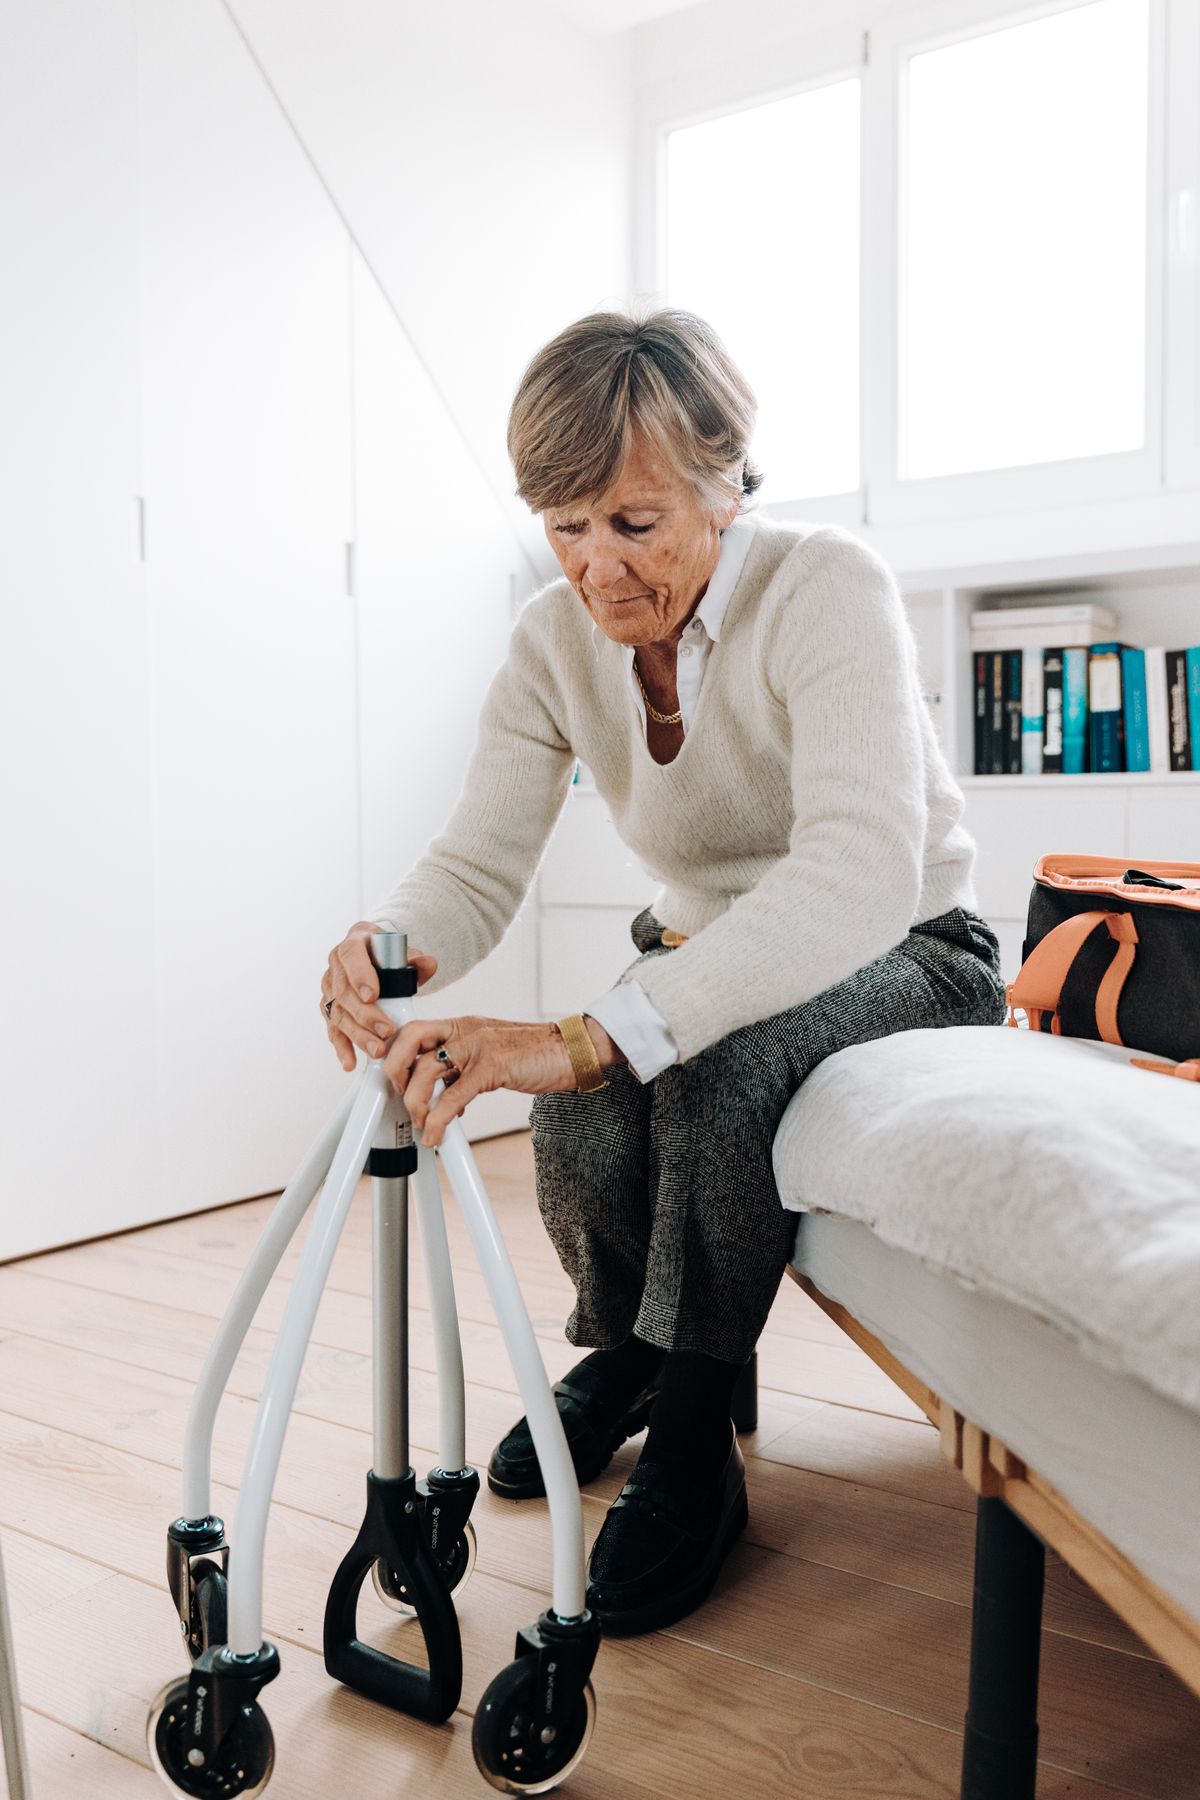
A walker at the wrong height does quiet damage. Set too low, it pulls you into a stoop, rounds your back, and forces your shoulders and wrists to do work they should not be doing. Set too high, it lifts your shoulders toward your ears, bends your elbows sharply, and leaves you unable to push down for support when you need it. The right height is not a matter of taste: it is a measurement, and it takes about five minutes with a helper, a tape measure, and the walker's own adjustment mechanism.
The rule used by manufacturers is simple and consistent. Medline's walker instructions say to adjust the walker so that, with the arm extended, the handle is at wrist height, and to repeat the adjustment on every leg so the walker stays level. Its rollator instructions put it the same way: stand upright behind the rollator with shoulders relaxed and arms hanging at your sides, and set the handgrips even with the wrists — which positions the arms at roughly a 20- to 30-degree bend. A good-practice guide for clinicians from the University of Salford says the same thing in plainer terms: hand grips just above wrist level when standing with arms at the side, and elbows slightly bent when holding the grips. This guide follows that rule, step by step.
Before you measure: set up correctly
Four setup details change the measurement, so get them right first:
- Wear your usual shoes. The shoes you walk in every day — not slippers, not bare feet. A change in sole thickness changes the handle height by the same amount, so measure in the footwear you will actually use.
- Stand on a flat, hard floor. Carpet compresses under the walker's feet and under your feet by different amounts, and it hides a leg that is set one notch off.
- Stand upright, as tall as you comfortably can. Do not lean on the walker while measuring — that is the posture you are trying to fix, not the posture to measure from.
- Get a helper if you can. Measuring your own wrist height while standing inside a walker is awkward. A second person can read the tape, watch the elbow bend from the side, and confirm both grips are level.
If a clinician has already recommended a specific height or aid, follow that recommendation over any general guide. Your model's own instructions also take priority over generic directions: the mechanism varies, even when the measurement does not.
Step 1: Find the wrist crease
Stand inside the walker (for a standard or two-wheel walker) or behind it (for a rollator), arms relaxed at your sides, shoulders down. Look at the inside of your wrist, where your hand meets your forearm: you will see a natural crease there. That crease is the target. The top of the walker's handgrip should line up with it. Some fitting guides describe the target as just above the crease rather than exactly on it; the difference is a fraction of an inch, and the elbow check in step 3 is what settles it.
Measure the distance from the floor to that crease with a tape measure, in your usual shoes. Write the number down. That number is your handle height — and it is also the number to check against a walker's stated height range before you buy. For example, Drive Medical's popular two-button folding walker adjusts from 32 to 39 inches in handle height, while Medline's non-folding adult walker adjusts from 31 to 37.5 inches in 1-inch increments. If your wrist height falls outside a model's range, that model cannot be fitted to you correctly, however good its reviews are.
Step 2: Adjust the legs — all of them, to the same setting
Most standard and two-wheel walkers adjust with a push-button (spring pin) on each leg: press the pin, slide the leg extension up or down, and let the pin click into the hole that gives the right height. Do this for all four legs, and set every leg to the same hole. A walker with one leg a notch off will rock, sit unevenly, and wear its tips unevenly — and the unevenness is easy to miss on carpet.
After adjusting, check three things before anyone leans on it:
- Every pin has clicked fully into its hole — tug each leg gently to confirm it is locked.
- All four feet touch the floor at once on a hard, flat surface, with no rocking.
- The walker sits level, not tilted to one side.
Never adjust a walker while it is supporting someone's weight, and never force a pin that will not engage — if a leg will not lock, the mechanism needs attention before the walker is used.
Step 3: Check the elbow bend and posture
Now place your hands on the grips and stand as you would to walk. Your elbows should have a slight, comfortable bend — fitting guides put this at roughly 15 to 30 degrees, with Medline's rollator instructions specifying approximately 20 to 30 degrees. You do not need a protractor: the check is visual. Arms completely straight means the handles are too low. Elbows bent close to a right angle means they are too high. A gentle bend, shoulders relaxed and down, wrists straight rather than sharply bent — that is the fit.
Then walk a few steps and watch for the signs of a wrong height:
- Too low: you stoop forward to reach the grips, your back rounds, and your steps feel like you are chasing the walker.
- Too high: your shoulders rise toward your ears, your elbows bend sharply, and you cannot push down firmly through the grips.
- One side off: the walker rocks, pulls to one side, or one grip feels higher than the other — recheck that every leg is on the same setting.
If the wrist measurement and the elbow check disagree — the grips are at wrist height but the elbows look wrong — trust the posture check and the clinician's advice over the tape measure. Bodies differ: a person with limited shoulder movement or a curved spine may need a setting that a general rule does not predict, and that is exactly what a professional fitting is for.
Rollators adjust differently — same measurement
On a four-wheel rollator, the height adjustment is usually at the handlebars rather than at the wheels: a knob, lever, or push pin below each handlebar lets the handle tube slide up or down. Loosen or release it, move the handle until its top lines up with your wrist crease, and lock it securely — both handles at the same height. Medline's rollator instructions stress the same standing position as for a standard walker: upright, shoulders relaxed, arms hanging at your sides, eyes looking straight ahead.
Two rollator-specific checks matter. First, test the brakes before the first outing, and always lock them before sitting on the seat — a rollator that rolls while you sit is a fall waiting to happen. Second, remember that a rollator is not a wheelchair: do not ride it, and do not let anyone push you while seated on it unless the model is specifically designed and rated for that use. Our Rollator vs. Walker guide explains who should and should not make the switch to a rollator.
When the standard range does not fit
Standard adult walkers cover most adults, but not everyone. If your wrist height is above the top setting or below the bottom setting of a standard frame, you need a different frame size, not a compromise setting. Options exist at both ends: junior or short frames for smaller adults, and tall or bariatric frames for taller or heavier users — but buy by the stated height range and weight capacity, not by the product name. A frame set at its extreme top or bottom hole is also a warning sign: if you are already at the last hole, any future change in shoes, posture, or strength leaves you nowhere to go.
Similarly, if the walker must pass through narrow doors, check the frame's overall width against your narrowest doorway before ordering — height and width both have to fit the person and the home. Our walker buyer's guide covers width, weight, and capacity by need, and our rollator picks cover the wheeled options.
Recheck, and keep the walker safe
Walker height is not a set-and-forget setting. Recheck it whenever the shoes change, after any change in posture or strength, and after the walker has been folded for travel — it is easy to reassemble a leg one notch off. At the same time, check the rubber tips or glide caps: worn tips are the most common reason a steady walker starts to slip, and replacements are inexpensive. Confirm the adjustment buttons still click positively into their holes, and retire a frame with an unexplained wobble.
Finally, if standing safely for a measurement is difficult, if the fit still feels wrong after adjusting, or if there is pain, weakness, or an uneven gait, get a fitting from a physical or occupational therapist. A five-minute professional check is the right answer when a general guide runs out — and it is a small price for a device you will lean on every day.
Sources consulted: Medline walker and rollator user instructions (handle at wrist height with arm extended; all legs adjusted to equal height; rollator handgrips even with wrists giving approximately a 20- to 30-degree arm bend; non-folding walker height range 31–37.5 inches); University of Salford, "Towards safer use of front wheeled walkers" good-practice guide for clinicians (hand grips just above wrist level with arms at the side, elbows slightly bent); Drive Medical two-button folding walker specifications (handle height range 32–39 inches). Fitting guidance varies slightly between sources (elbow bend roughly 15–30 degrees); always follow your model's own instructions and any clinician's recommendation.
This guide is general information, not medical advice. If a clinician has recommended a specific mobility aid or fitting for you, follow that recommendation.